Time to paint the cab. Like on the bed and chassis, and most all of my old equipment projects, I decided to go with an oil based industrial enamel. This type of paint works well on rough trucks and equipment as it tends to fill in scratches and it’s not quite as glossy as automotive paint. It’s less sensitive to oil that may be on the surfaces, and it’s quite easy to use. Add a catalyst/hardener when mixing, and the paint is very durable and fade resistant. It’s available in various grades of quality and price, and certain types do not require primer. Since it’s not worth fixing every little ding and scratch on this old truck, this paint works well for me.
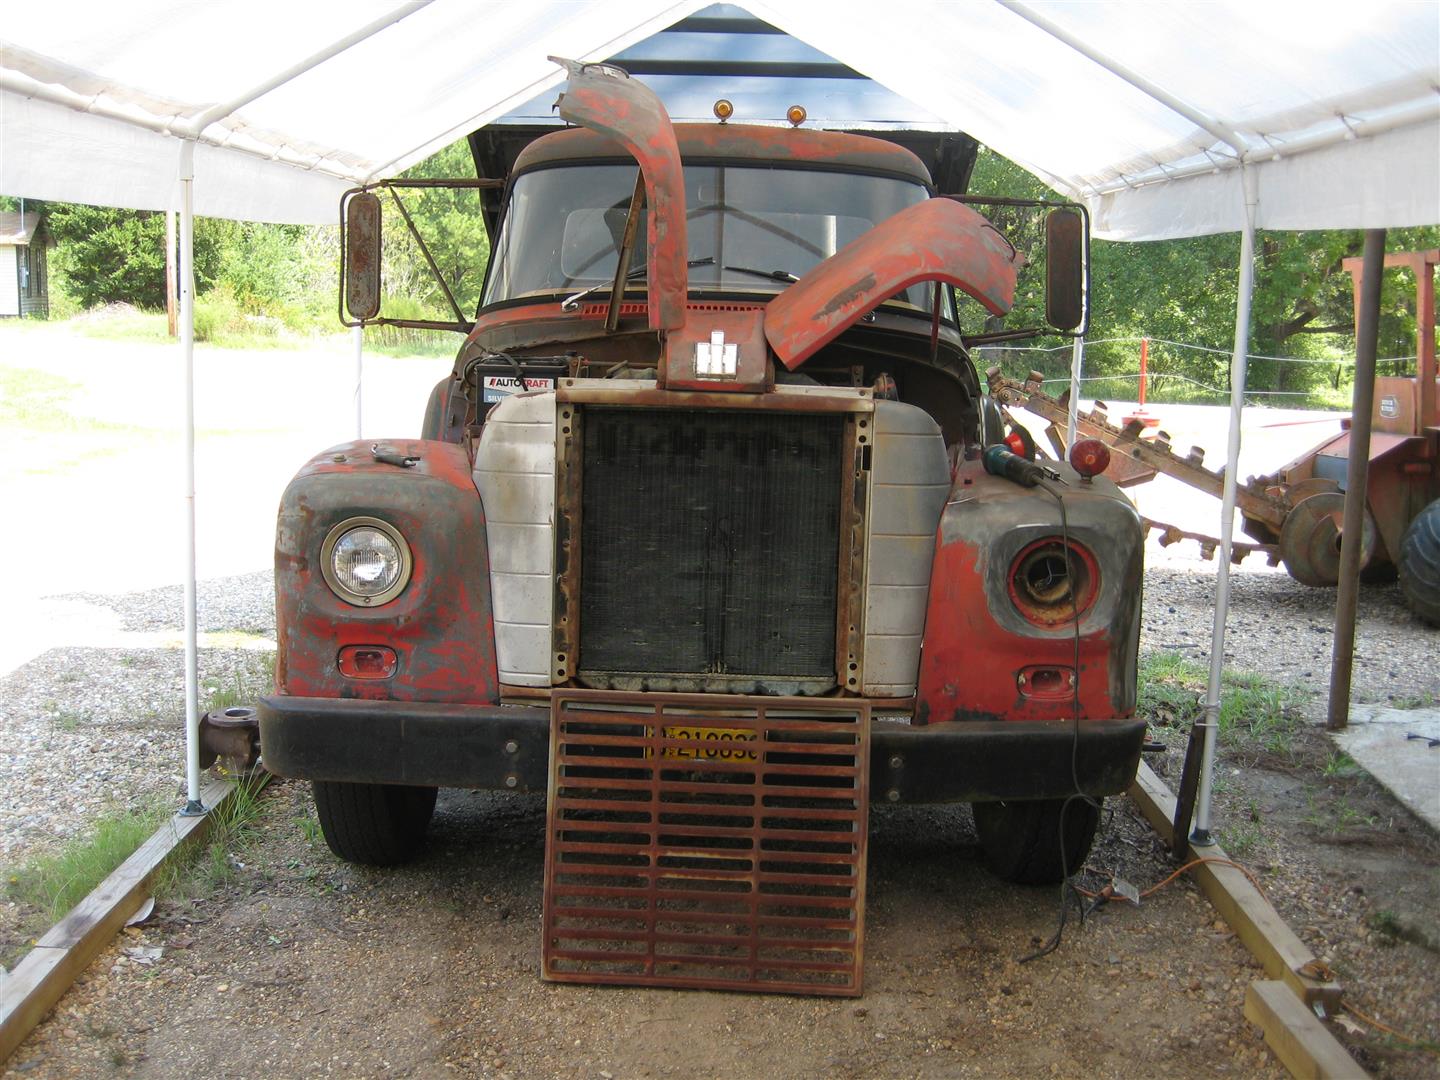
The first thing I want to do is strip off as much of the old paint as possible. Previously I used a 6,000 psi pressure washer to remove much of the paint. The next step was to use a high speed wire wheel to remove as much as is feasible. Now these wire wheels are available in fine, medium, and coarse. On thick, rough metal, like that found on the bed, course is effective. For the cab, which has thinner sheet metal, we use fine and medium. This will remove the paint without gouging the metal and leaving unsightly scratches visible after the truck is painted.

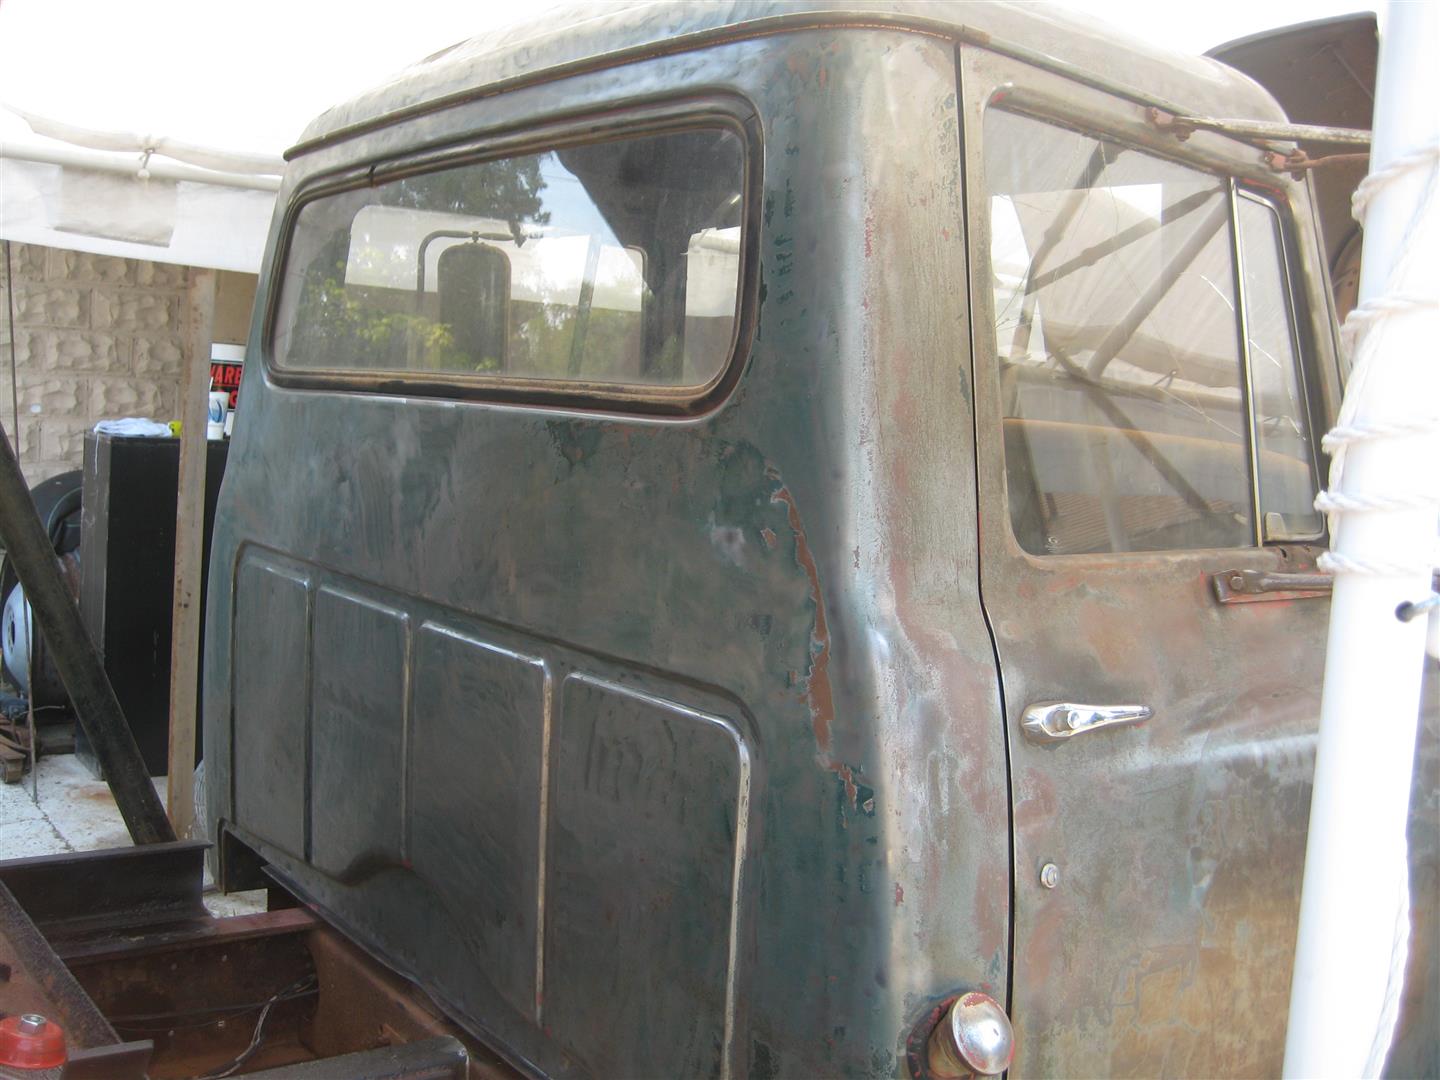
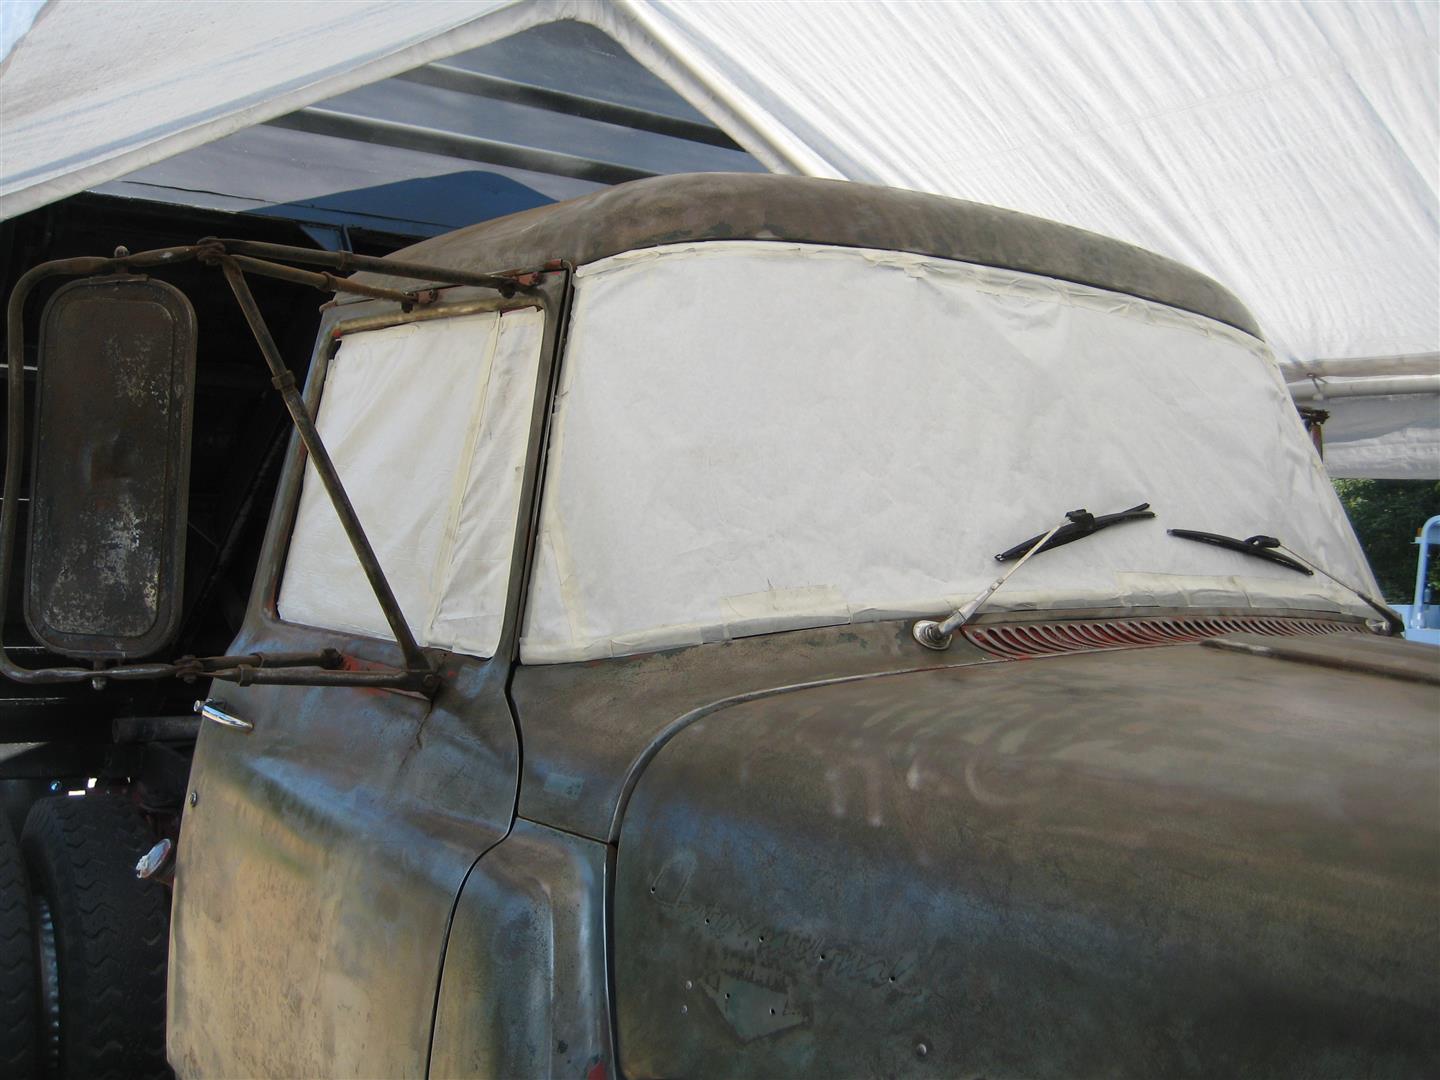
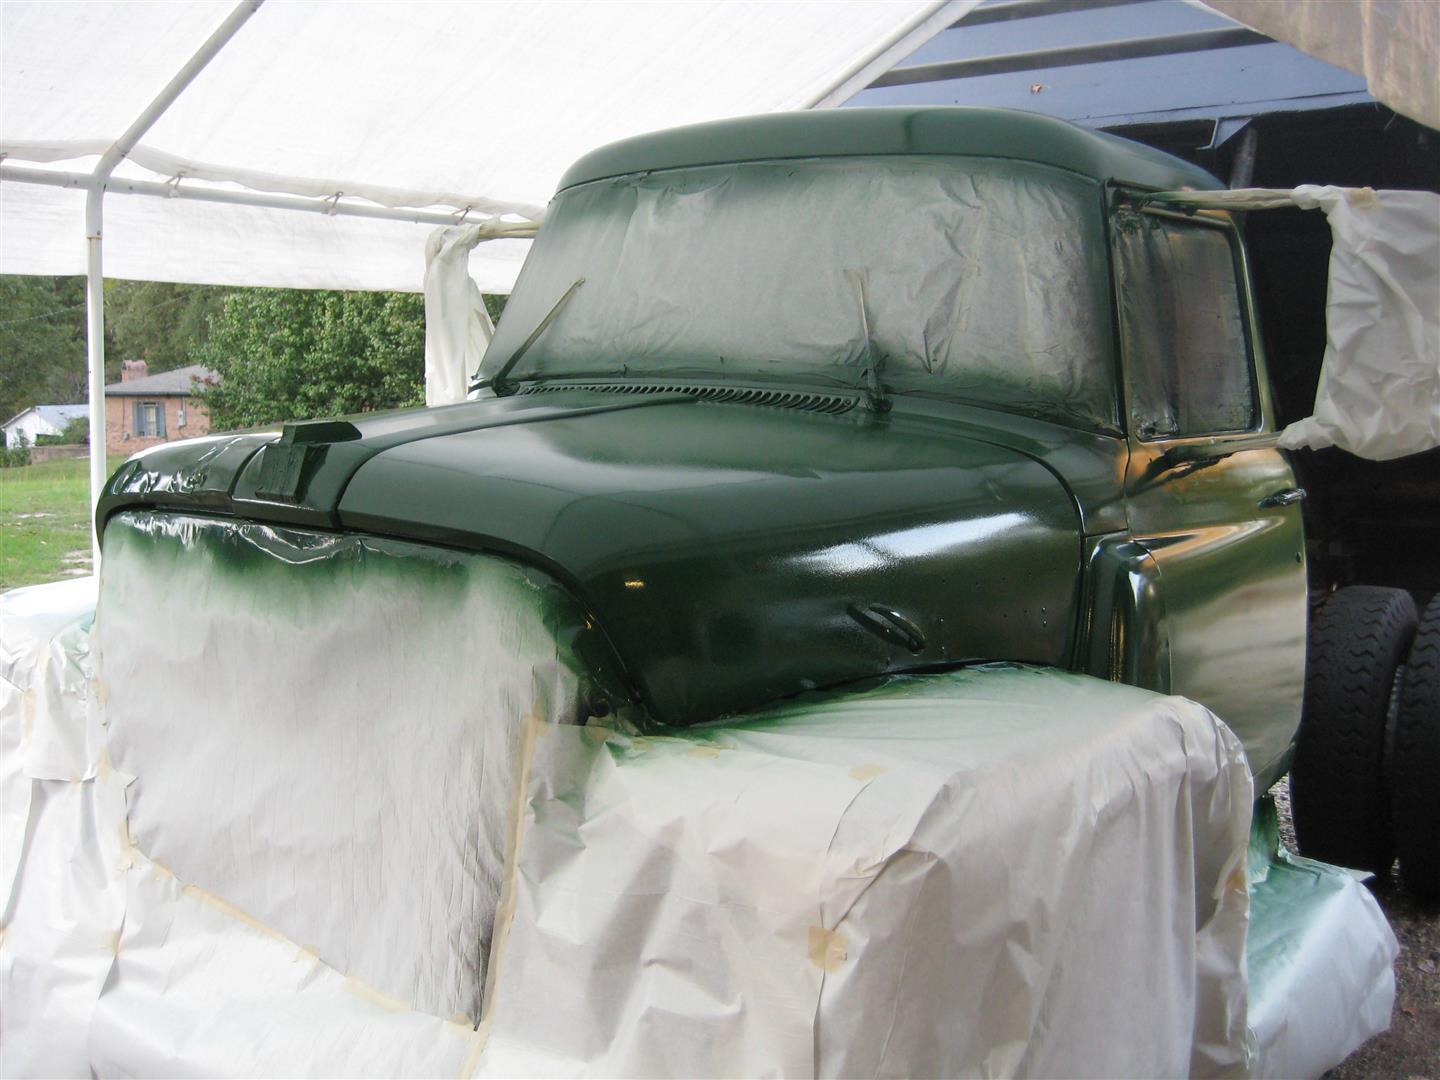
When I removed as much of the old paint as I could and knocked out some of the bigger dents, I cleaned all the sheet metal surfaces with thinner and began the biggest job yet: masking the windows etc.

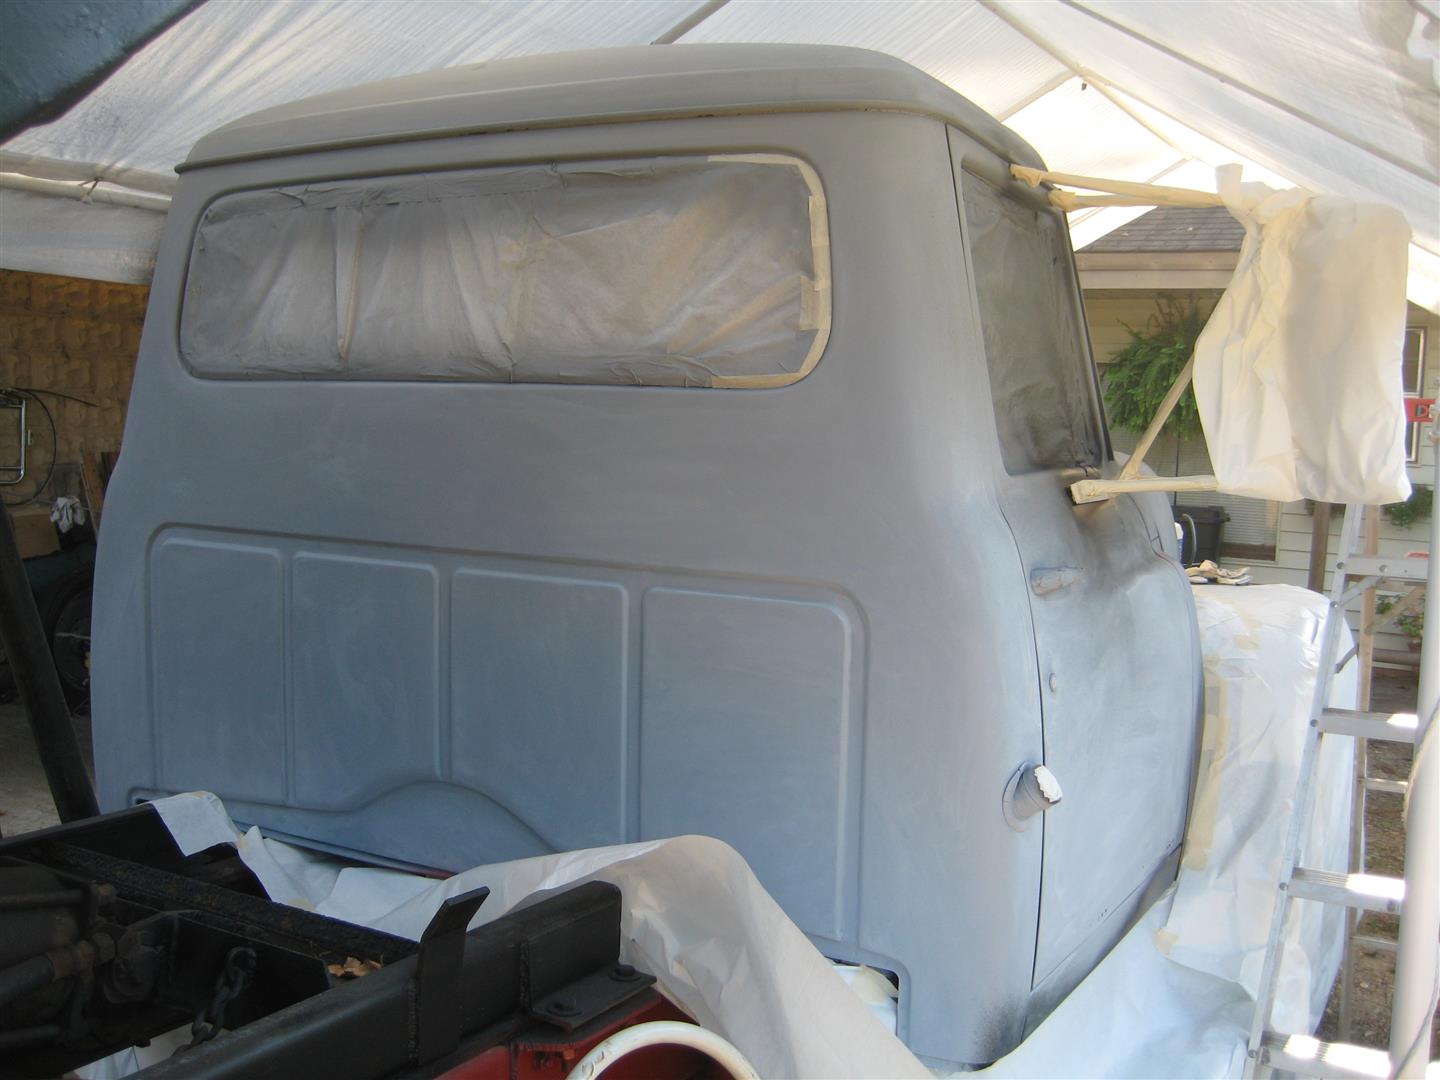
Once the glass was masked up, I primed all the surfaces. After the primer had dried, I took a scotch pad and went over the whole cab by hand. This smoothed out the rough texture of the primer. Then I went back and cleaned all the surfaces with thinner and a clean rag. Then I mixed up satin black, like was used on the bed, and painted the front bumper, front fenders, step boards, and mirrors. While that dried, I took the grill in the shop and painted it an awesome looking silver, the same silver I used to outline the rims on the truck. When the black dried, yet another round of masking began. I masked everything that I had just painted black.

Now for the green. The closest thing I could find to the original International green in industrial enamel was a hunter green in an Ace Hardware brand. It suits me fine.
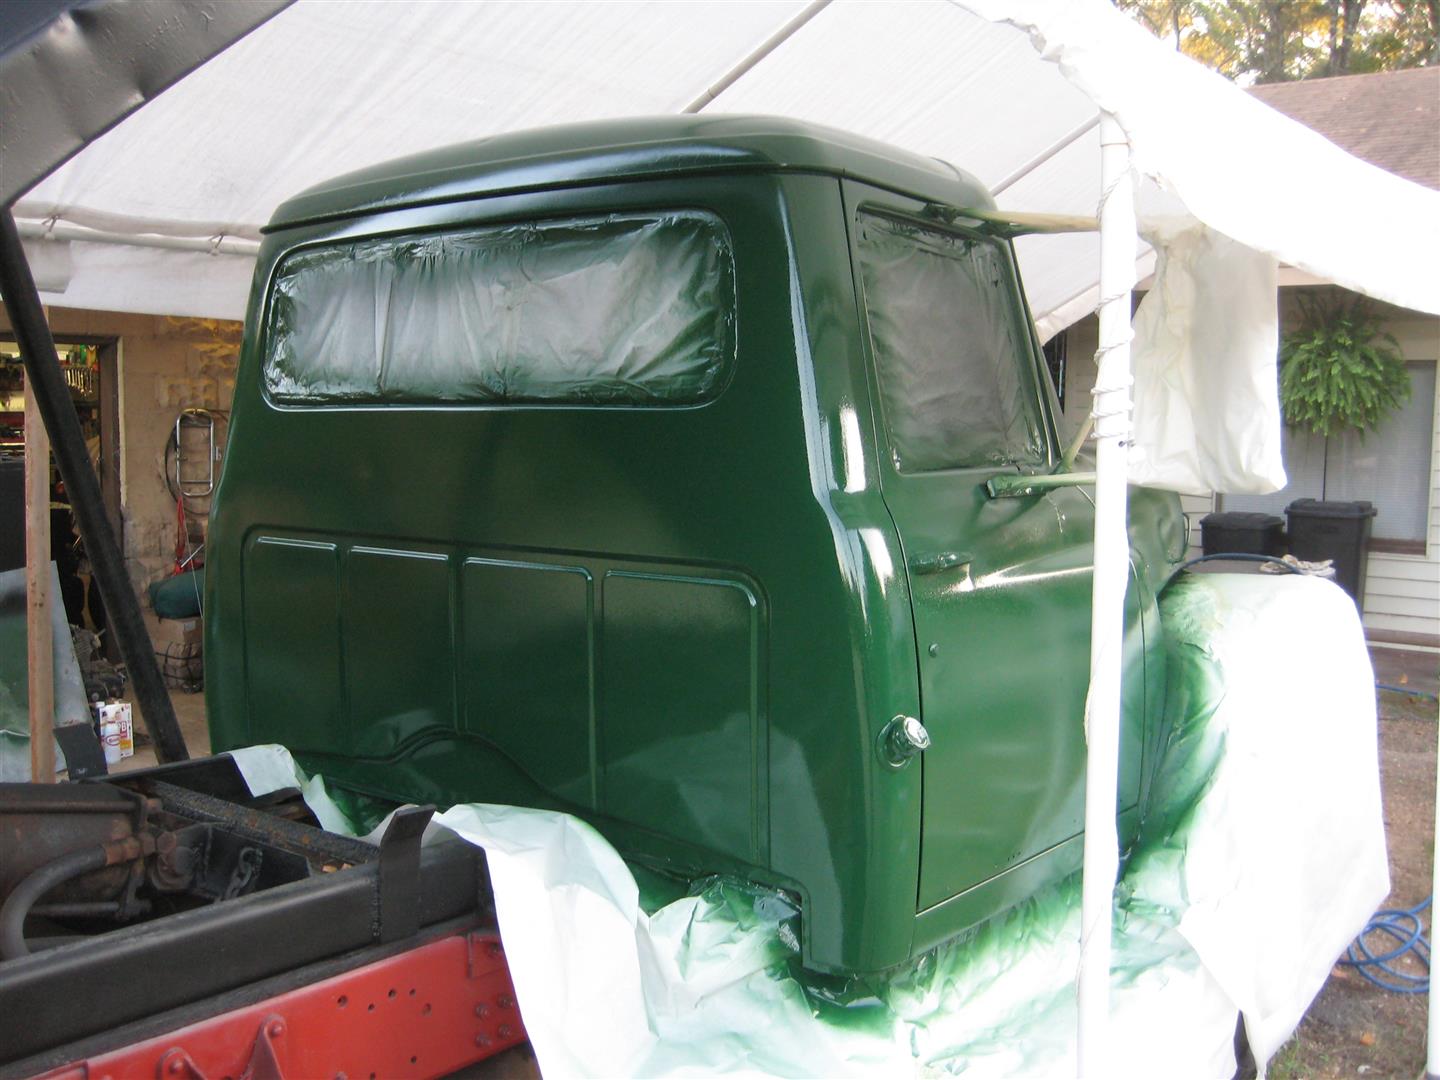
Now I pull the masking off, and we have a pretty good idea of what the finished truck will look like. Of course there is still more work to do, but it’s coming together quite nicely.
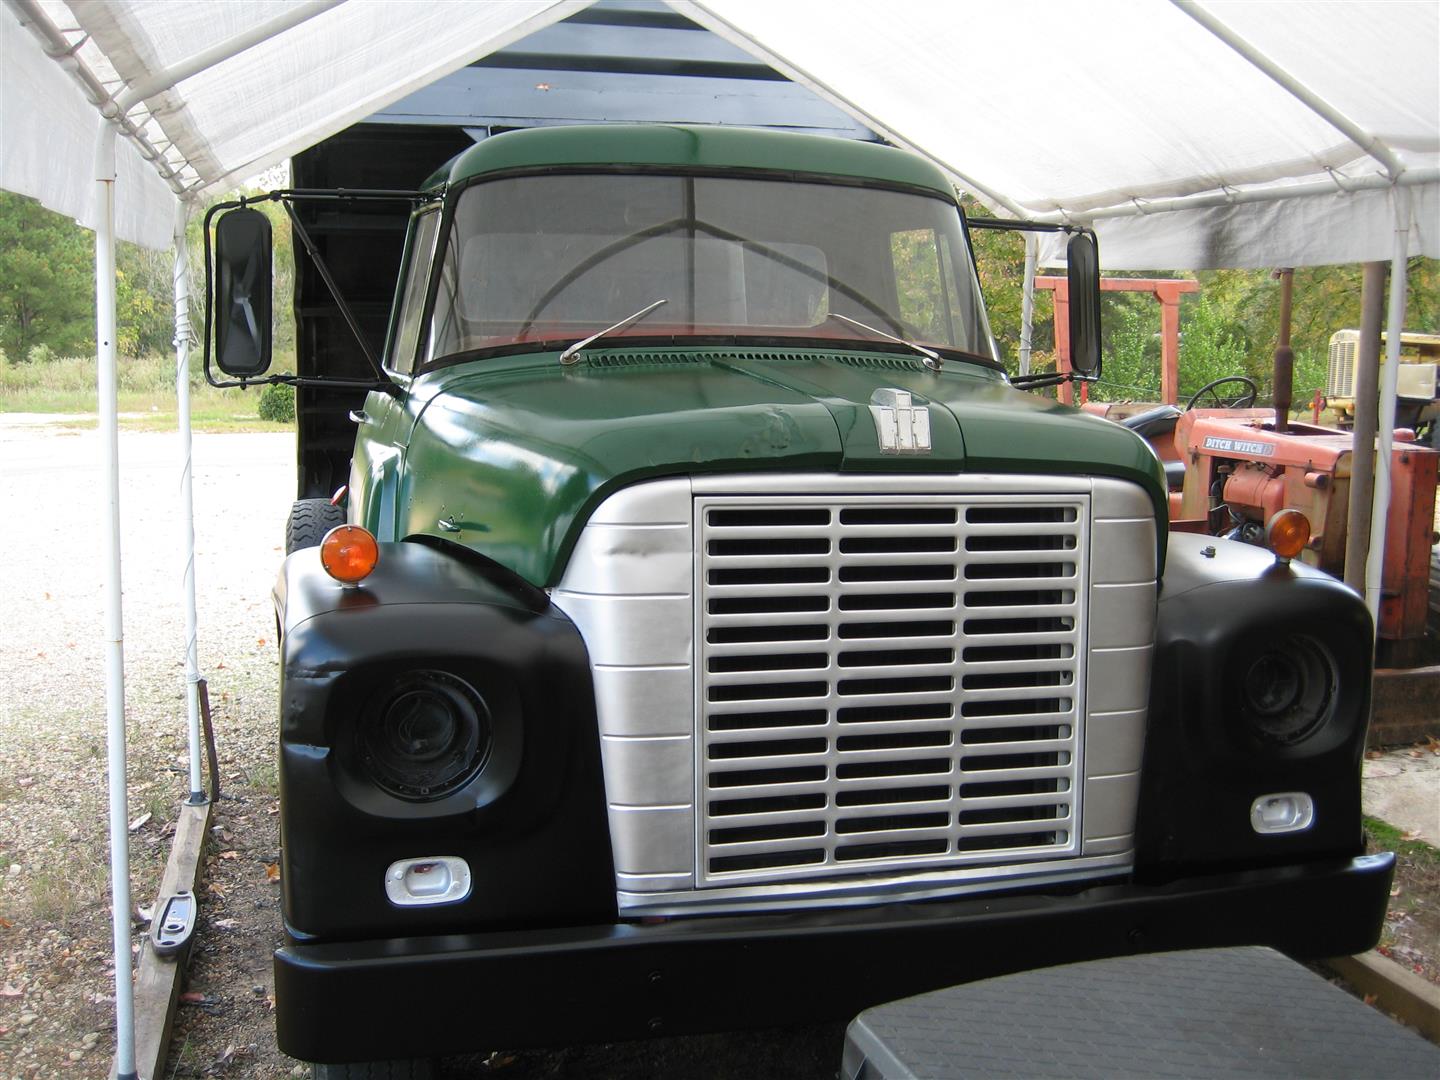

Still yet to come, the lights, interior, and whatever else crops up. Until then…


I love the paint job! I found your site because I was looking up rustoleum green paint jobs and saw this! I want my 1950 to be that green. Did you roll, spray or rattle can the primer and paint? Etching primer or regular? Looks awesome
Comment by txprojects — July 16, 2017 @ 3:52 am |
Thanks for the comments. I sprayed the primer. It’s been a while ago, but I think it was etching. After it dried, I ran a scotch pad over it. I’ve since painted a truck with self etching paint requiring no primer, and it turned out good.
Comment by Nicholas Fluhart — July 16, 2017 @ 9:25 am |