The next issue I decided to address, and the topic of this forth installment of the Loadstar project, is the front suspension.
I noticed the truck sitting low in the front, and with 8.25-20 tires, the wheel wells shouldn’t be so full. I crawled under to take a look and the problem was immediately noticed. The front springs are worn out. A leaf spring should have a natural arch to it. These were collapsed and the shackles were flattened back. Well, that explains the low ride height, now the question is what can I do to fix it?
Hard parts are a challenge because they are hard to find in my area. While there was an International dealership here years ago, surviving Loadstar trucks are virtually non existent around here. I thought about repairing my existing springs. I know leaf springs can be “re-sprung” by putting them in a fixture, heating them evenly, and then applying a cooling process. The only problem is that I have no idea what that process is or what’s involved. If done improperly, the springs will be weakened and useless. So I quickly ruled out fixing what I have. The next possible solution is to find a set on another type of truck and modifying them to work on my truck. I would essentially build my own springs using parts from both. That sounds much more feasible.
So I set out to find a donor truck. The most common trucks around here are Ford F-600, F-700, etc. The good news is, I have a friend with a junk yard who has several of these old trucks. The bad news is, the Ford leaf springs mount differently than my International springs, so we would have to do something to make it work. Nevertheless, after wondering around in the woods my helper and I found a good donor truck: a Ford B-700 school bus laying on its side.
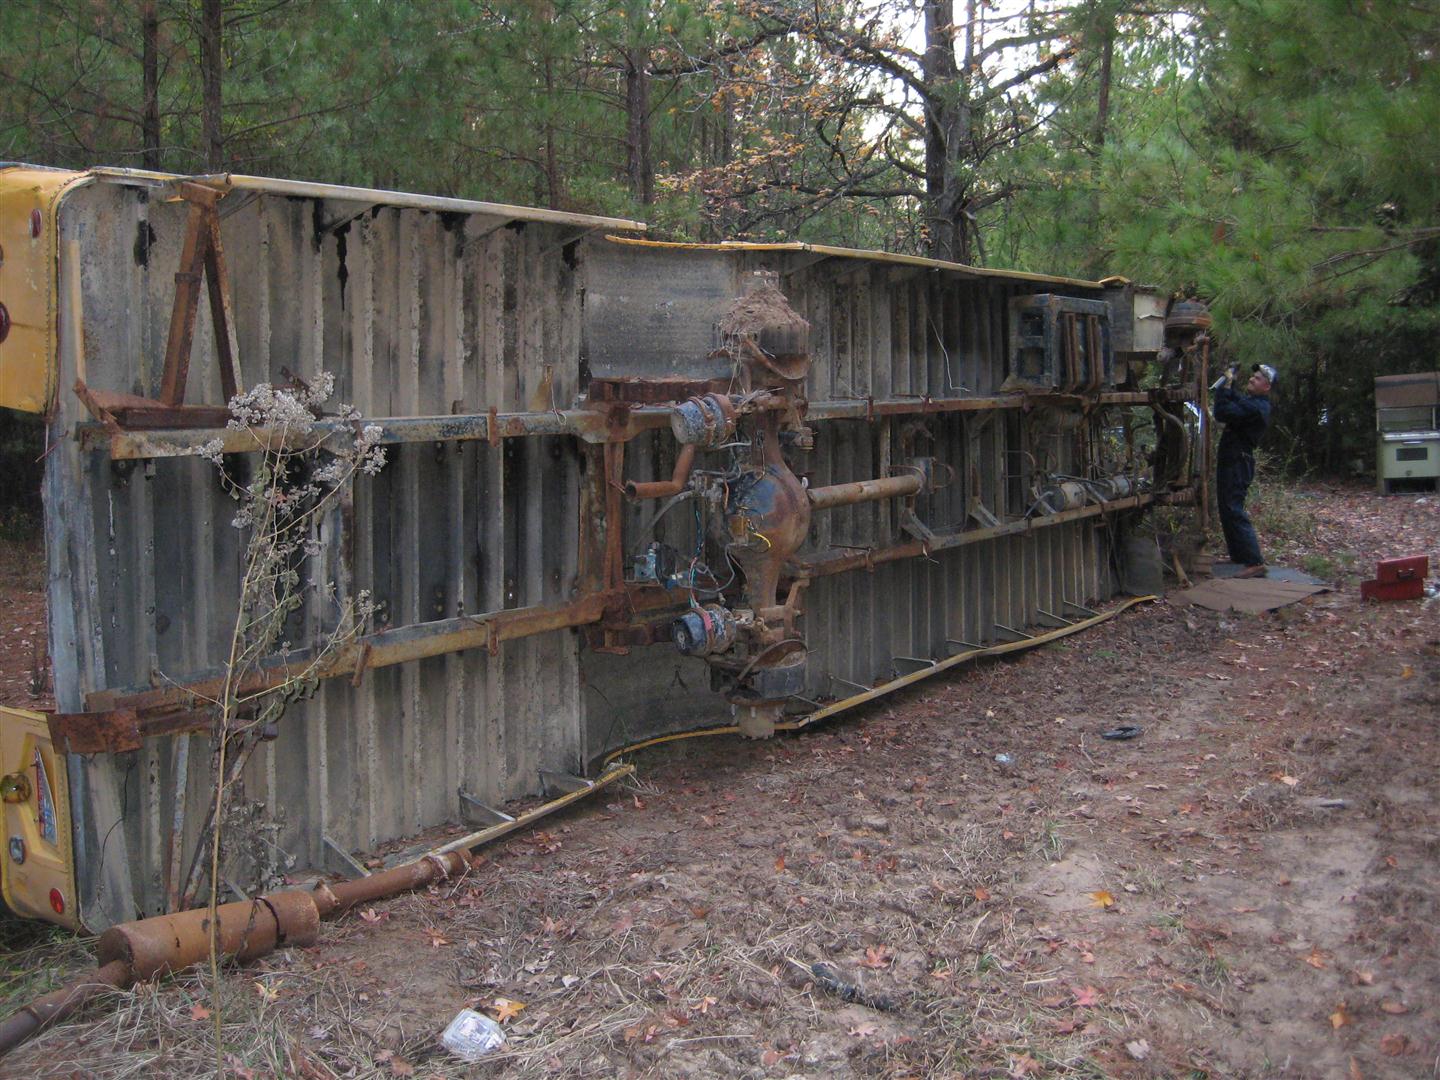 The bus springs were thicker than the Loadstar springs, and they were in great shape. They’ll do just fine. Since the bus was on its side for whatever reason it made it very easy to get to the springs, which are very heavy by the way. Once back at the shop, we made some comparisons. Although the bus springs were thicker, they were the same width as mine which will make our job easier. Furthermore, we decided to use the top spring from the Loadstar, so the mounts and attachment length would be correct for the frame. We would then attach the rest of the leaves from the bus springs under the top spring providing more than adequate spring capability. This requires disassembling both sets of springs, matching up the proper number of leaves, and then assembling the new combination. We use a torch to cut off the old brackets and rivets not to be used.

Then we put the assembly in the hydraulic press, loosened the center bolt that holds the springs together, and slowly let the pressure off.
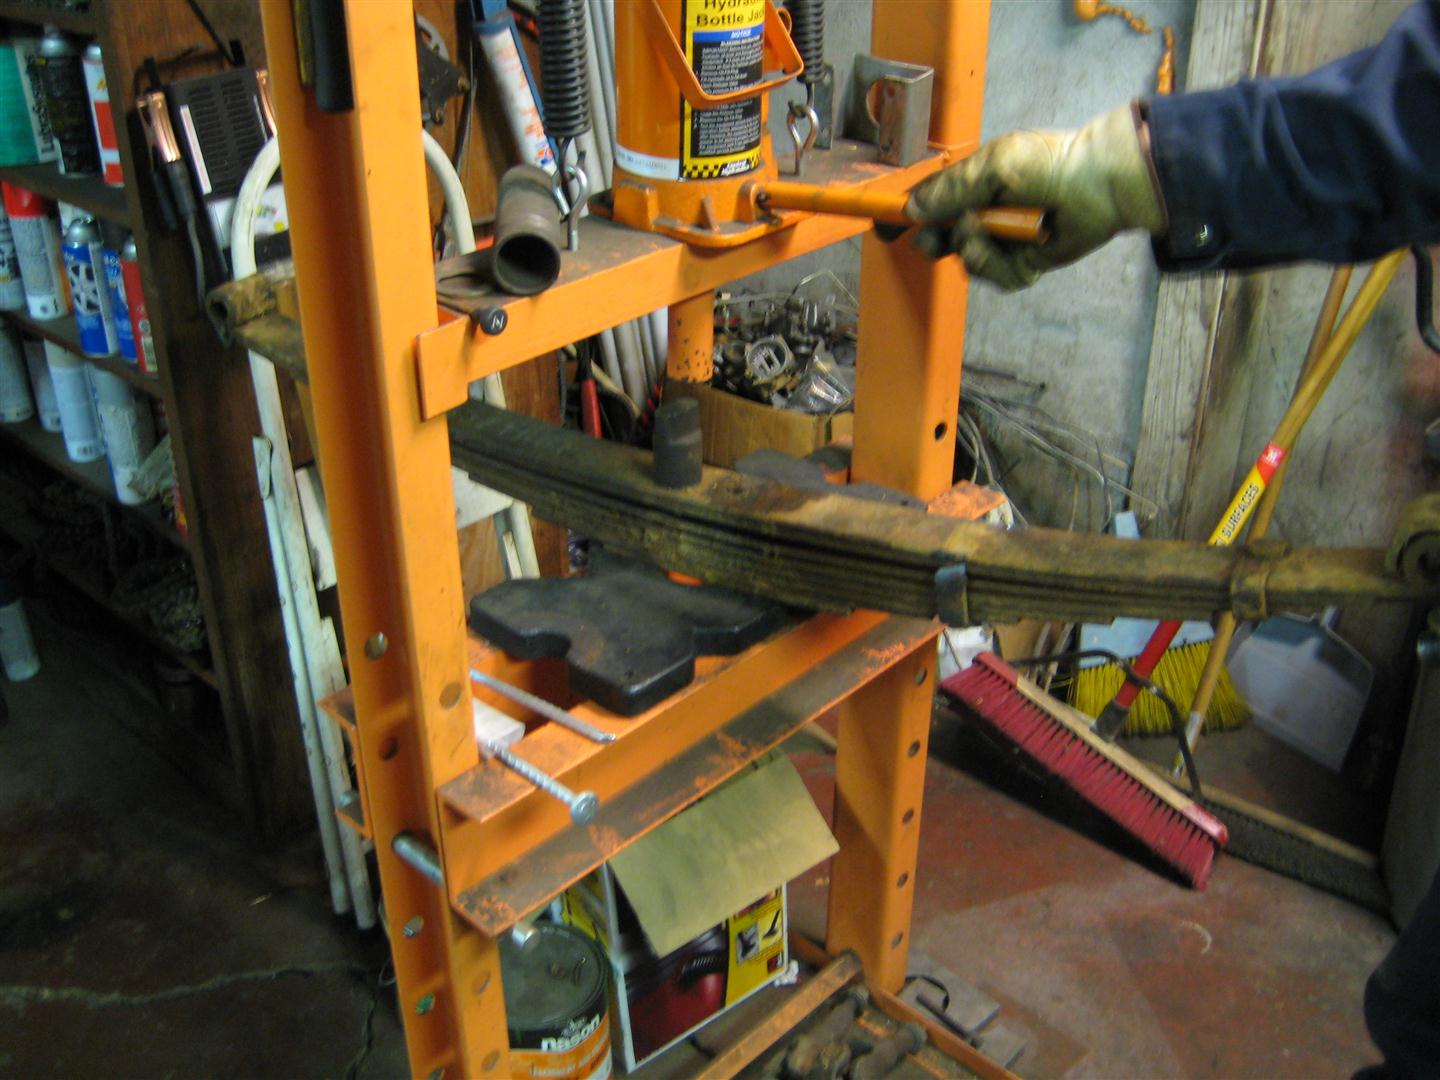
We match up the leaves to be used and assemble the spring.

Here’s the finished spring…

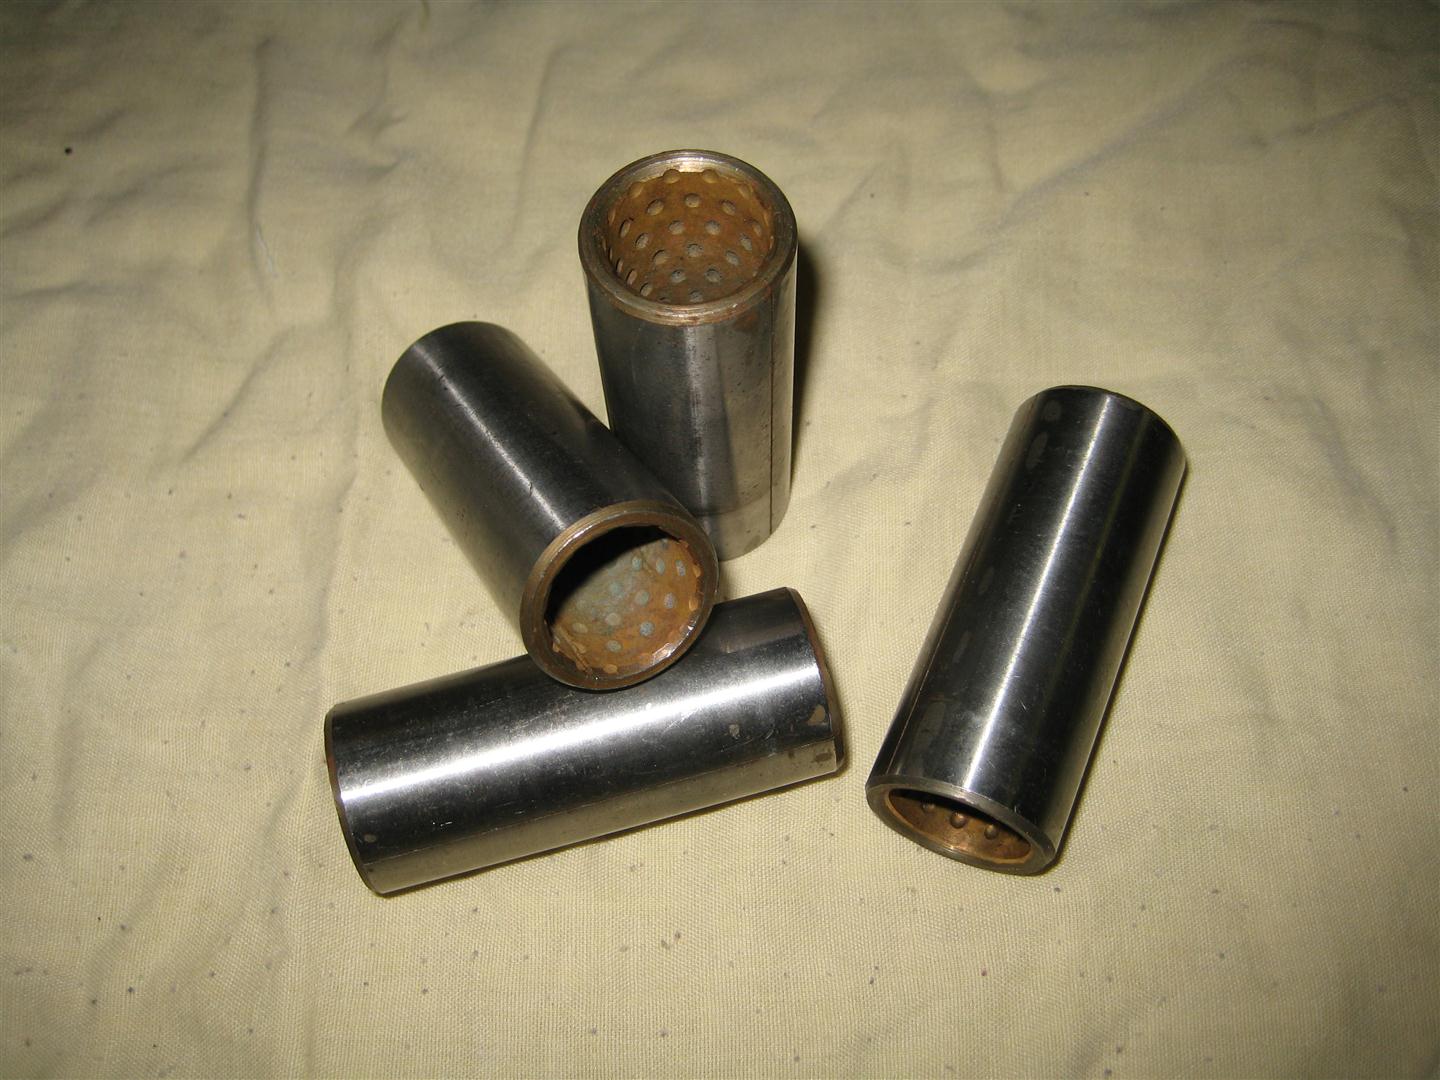
Now, before we can reinstall it on the truck, I have to address another problem that was reveled when we removed the springs: worn out shackle bushings and pivot bolts. From lack of lubrication, the bushings were worn through completely, and the bolts were almost worn in half.

I jumped online and surprisingly located some new bushings.
To save on cost, I decided to repair the worn pivot bolts instead of replacing them. I welded in the worn area on each bolt to build it up to the proper thickness. It took a few passes with my antique Westinghouse A/C Arc Welder.
 |
 |
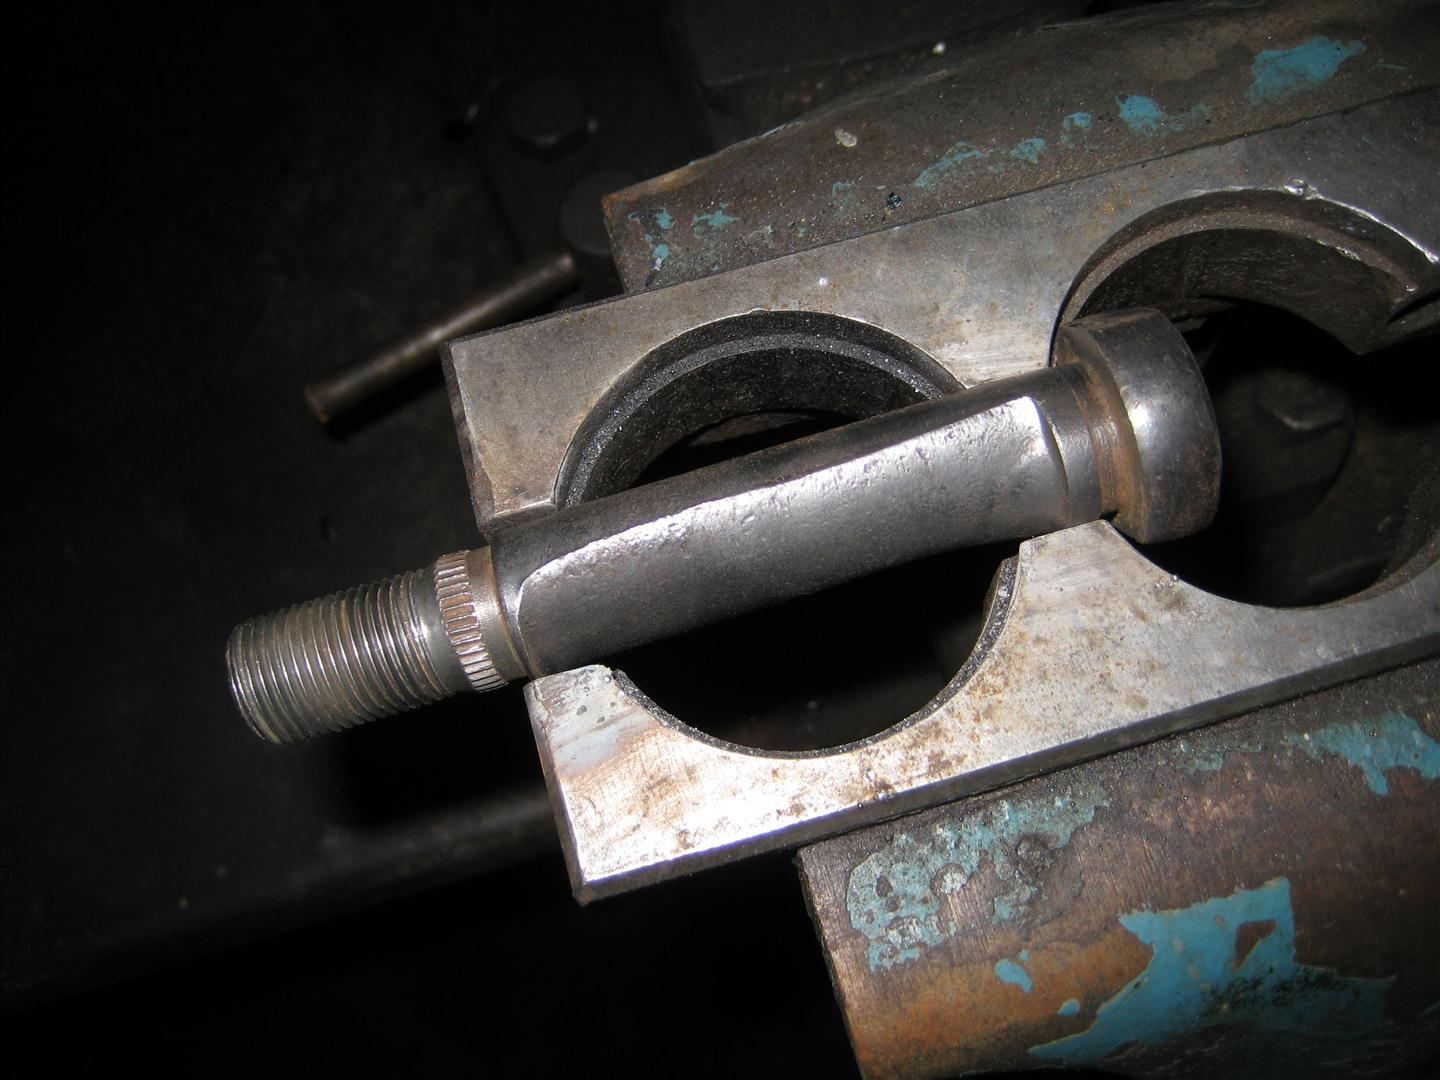
Ideally, a machinist’s lathe would be used to turn the bolt back into the correct diameter. However, I don’t have a lathe. So in lieu of expensive machine tools, I carefully used my bench grinder to dress the bolt…and it turned out pretty good I must say.
 |
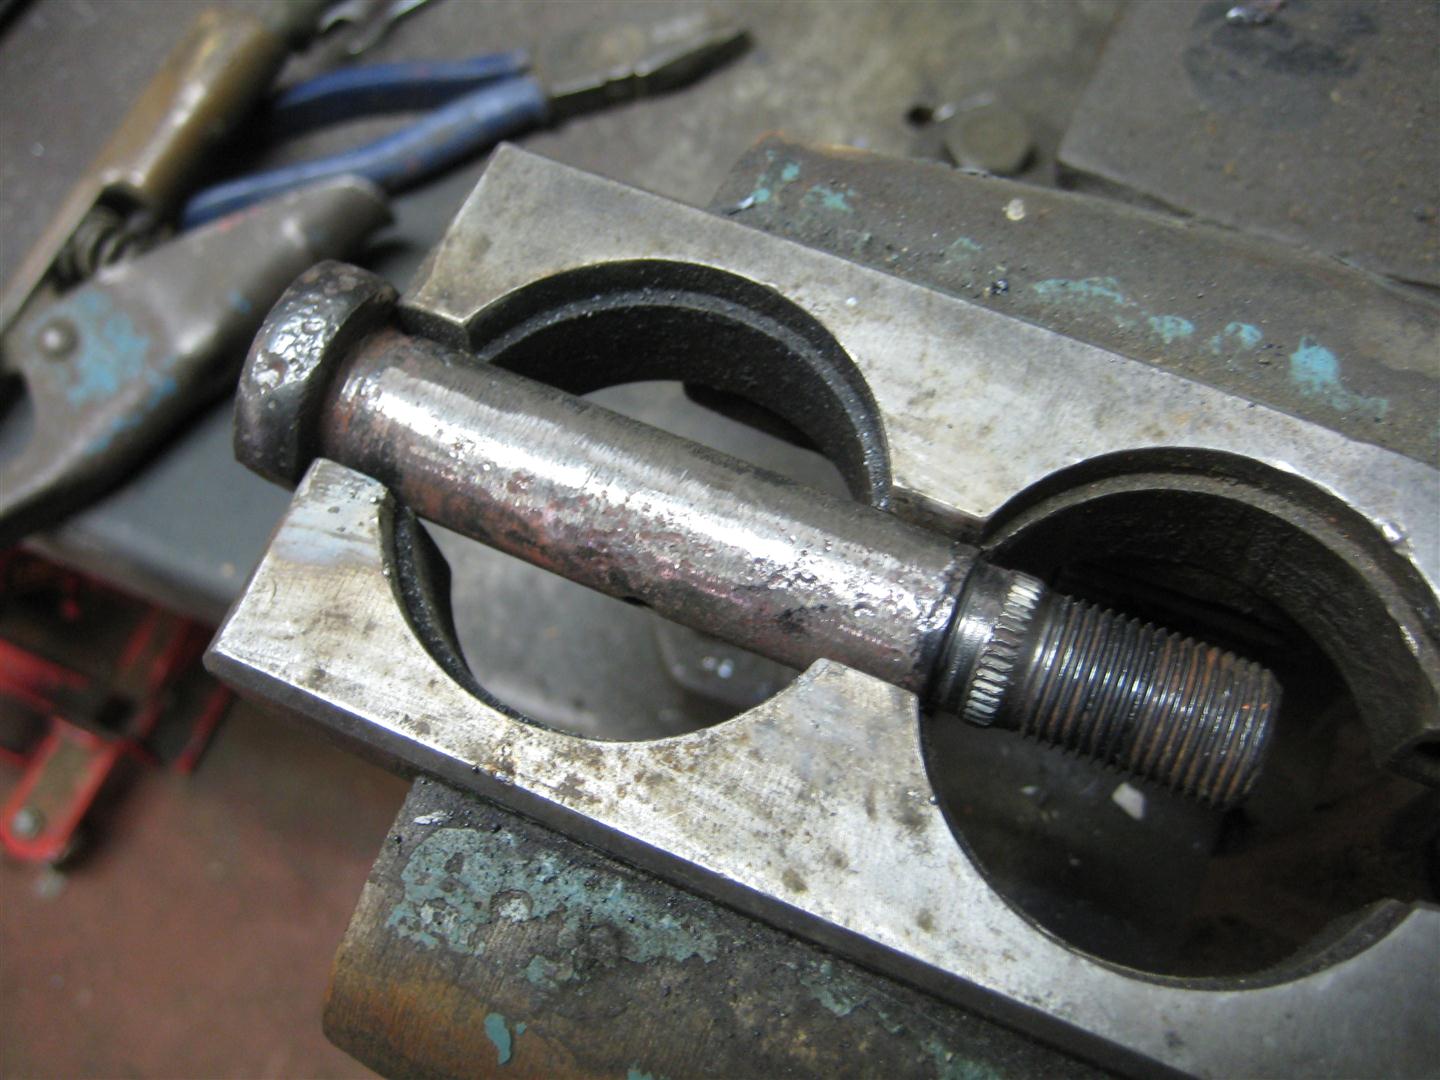 |
These bolts are hollow with a passage for grease to be pumped in at one end. The grease flows out to the bushing through a hole in the side of the bolt. To clear the weld from the grease hole, I finished up by using my drill press to re-drill the holes. The bolts fit into the bushings perfectly.

Upcoming, we’ll address reinstalling the springs, finding some good tires, and other chassis related stuff. Until then…


Leave a comment