Well, after a successful first run, it wasn’t long before Philip had a job lined up for the R40. He’s building a shop and needed to cut a trench for electrical utilities. Before heading to the work location, we went over the machine and hit all the grease points, changed the fluids, and tightened the chain. Ready for business.
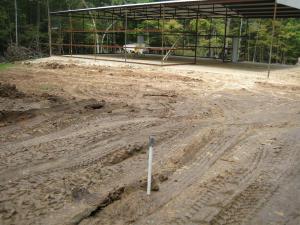
The trench was to be 80 feet in length through very dense clay, which is much more difficult to cut than the soil we tested the machine in at my facility. Of further challenge was the depth of the trench which was to be 30 inches. We will be trenching from the building up to the white stake in the ground seen in the photo below.
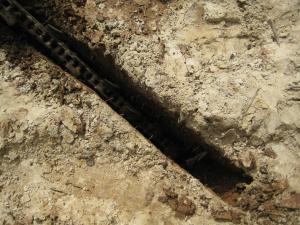
We began cutting at the building where the power meter would be located. The operator’s manual recommends starting the trench about one foot from the slab of the building in case the chain snags something hard fixed in the ground and pulls the entire machine backward and subsequently into the side of the building. This proved to be good advise. Since this area was previously heavily wooded, there were a few roots that were too big to trench through, so we cut them manually. In the photo below, you’ll see the starting point and you’ll see how hard the ground was.
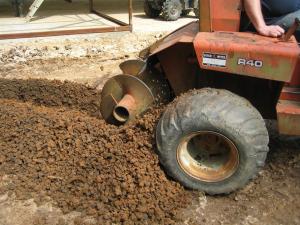
The chain essentially carved through it, bringing up shavings of clay and the auger neatly piled the small clumps beside the trench.
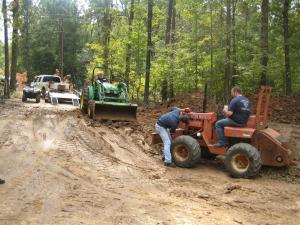
It was very slow going, and we had to use a low trenching gear and a very, very slow wheel speed. In fact, we had to be careful to keep the trenching from rattling the tractor to pieces. It rattled the bottom cap off of the air cleaner, and below you see me reattaching it while Philip continues the trench.
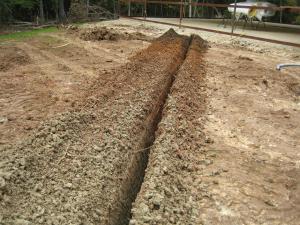
Finally, we were able to complete the trench without any problems from the Ditch Witch. Below you can see the trench and the types of hard, dense clay we carved through represented by the different colors of the material.
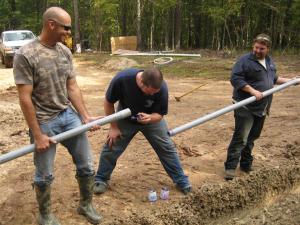
Next, we begun to assemble and lay the conduit for the electrical wire. To meet code, it requires a two part epoxy to be used in the joints. Below you see them applying the epoxy to assemble the conduit. Then it’s just a matter of setting it off into the trench.
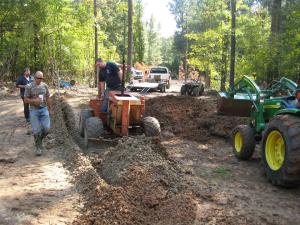
Once the conduit is set in the trench, we can begin backfilling. Philip uses the four-way blade on the front of the Ditch Witch to backfill.
Below you’ll see the finished product. Now we’re ready to place a string into the conduit and await the power company to come and run the electrical wires to the meter.
There are a number of ways to run the wire through the conduit. You generally place a string through first. This can be done by either attaching a vacuum at one end of the pipe and sucking the string through (I’ve even seen someone tape a ping pong ball to the end of the string and reverse the vacuum which would blow the ball through, bringing the string with it) or by using a type of snake. Once you get your string through, it’s just a matter of tying the string to your electrical wires and pulling them through.
Machine Analysis: Overall, everything went well with the machine. I was very impressed. This was an exceedingly hard job for the machine, and after having been setting up for years before this job, the Ditch Witch did it almost flawlessly. However, such a heavy load on the engine as this job placed on it revealed the need for additional fine tuning. We seem to be getting a backfire through the exhaust under heavy load, which was most of the time here. This could be caused by a couple of things: Either the carburetor main jet is a little lean which causes a “lean pop” (this can be determined by inspecting the spark plugs), or the ignition timing is slightly off which can be adjusted at the distributor. Whatever the case, it should be a relatively easy fix…I hope.
Until next time…


Leave a comment